Thursday, June 30, 2011

Really Red Rocket!!

Here is a rocket firecracker for you to knit up for your Independence Day celebration! It only took me 3-4 hours:


You will need:

Knifty Knitter blue round loom, hook tool, yarn needle

Red Heart Cherry Red and Bright Yellow Yarn, Lion Brand Hometown USA Houston Cream yarn Wooden dowel (mine was .5" x 12", you may want a longer one)

Tape (duct tape would be best, or strong glue), and scotch tape

Empty container (I used a grits container)

Several sheets Red card stock (as close as you can match the Cherry Red color)

Scissors

Pen or pencil


To begin:


Remove the lid from your container. Wrap the container with the red card stock and scotch tape it together. Cut off the excess overlap of paper around the rim of the container and set aside.


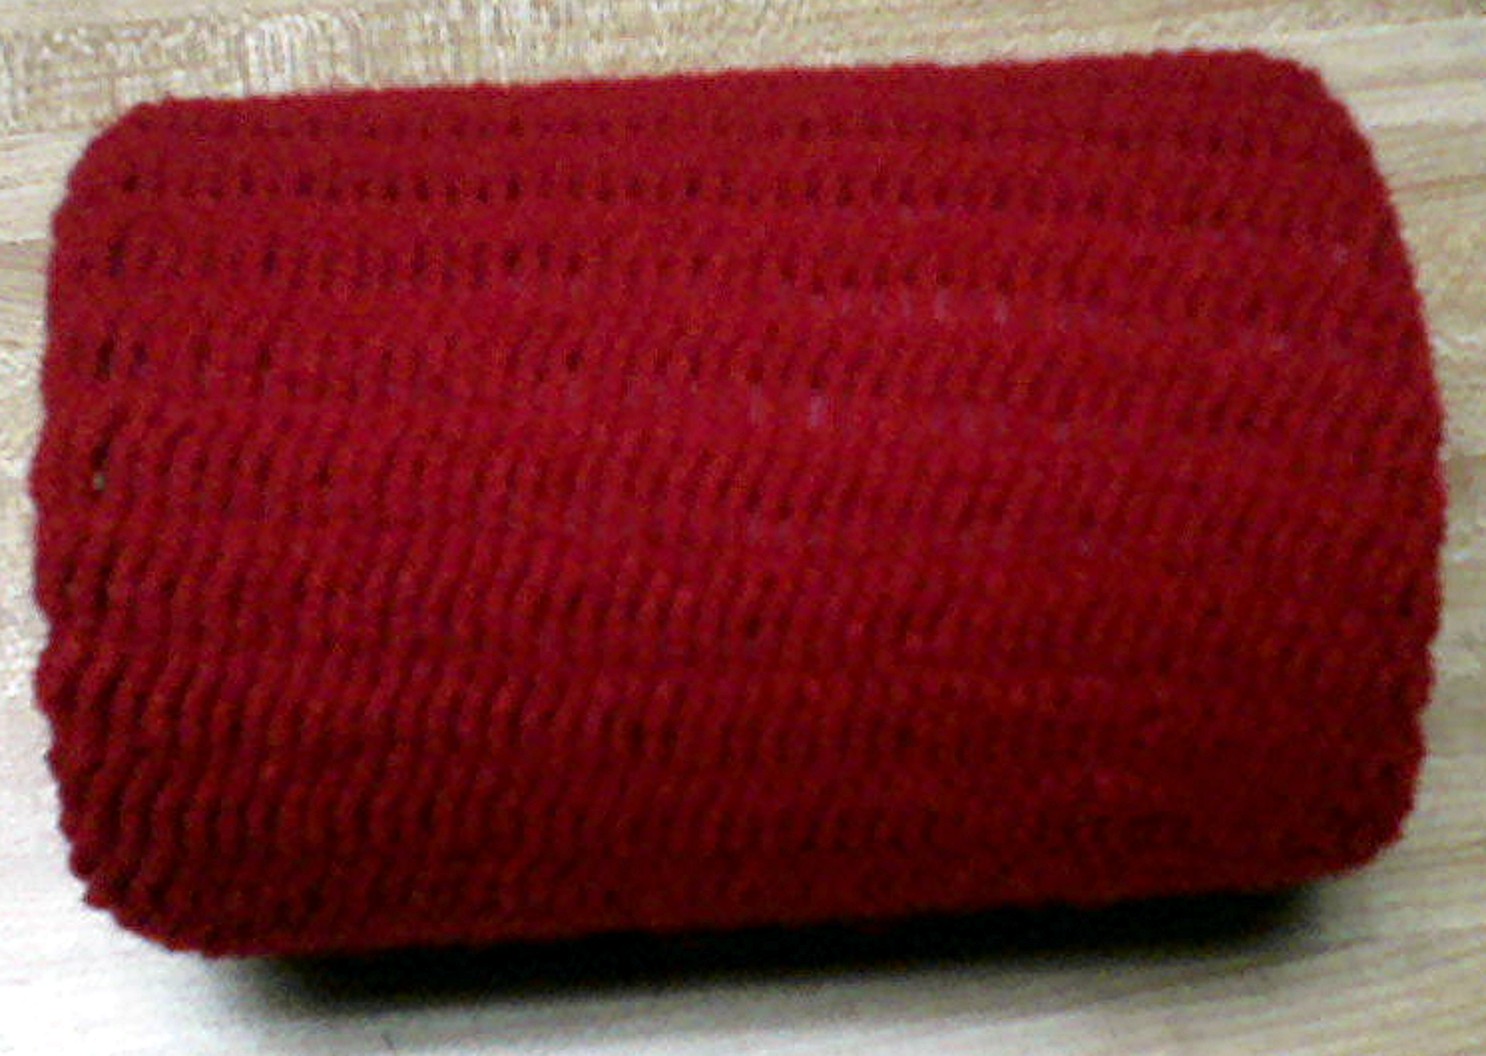
Cast on with the Cherry Red yarn on the blue loom using the drawstring method (wrap the outside of the loom with your yarn twice. Then, using your hook tool, pull the bottom row over the odd pegs and the top row over the even pegs.) After casting on, knit 1 over 2 stockinette stitches for 55 rows and bind off with your yarn needle. At this point your project should look like this:


Now you have a decision to make. If you like the stockinette look for your rocket, leave the knitted rocket sleeve as it is and stretch it over the container:


If you prefer a flat knit look to your rocket (which I did), turn your knitted rocket sleeve inside out and stretch it over the container:


Now put the dowel next to the edge of the bottom of the container and trace around it:


Use your scissors to puncture through the container to make the hole. Do not cut your hole too big. You want the dowel to be a snug fit, but don't put the dowel in just yet.

Cinch the bottom of the rocket shut and sew across the hole.

Poke the dowel through the yarn into the hole you made at the bottom of the container, and push it 4" up inside the container. Using your duct tape or strong glue, secure the dowel to the inside of the container. Once the dowel is secure, place the lid on top of the container and set the rocket aside.


For the cone top of the rocket, find a large round lid and trace around it on . I used one that measured 6.75" around. I discovered later that this wasn't a large overlap for the cone of the rocket. You may decide you want a larger circle.


Then using a ruler and your pen, draw a line from the center edge of the circle to the middle of the circle. I didn't measure exact, I just eyeballed it


Cut out the circle, and then cut the line in the circle. Then overlap the line edges you just cut, to create the cone shape:


Once the cone is the desired shape you want, tape it shut using your scotch tape and set aside.


Knit the Cone Top: With the Cherry Red yarn, cast on the round blue loom using the drawstring method, then knit 1 over 2 stockinette stitches for 10 rows. Using the tail (not the working yarn), cinch and sew the yarn shut. Continue to knit off 20 more rows, then bind off using your yarn needle, reserving an 8" tail. (If you have made a bigger circle than 6.75" then you will need to knit off more rows to compensate for the larger size cone head.) Turn the knit cone top inside out (if you prefer the flat knit look) and stretch over the top of the card stock cone until it overlaps. Gently cinch and set aside:


For the fuse and the spark: - the fuse is simply a 6" piece of the Houston Cream yarn. The spark is a simple pom pom made with the Bright Yellow yarn. Knot the pom pom onto one end of the fuse. At the top of the fuse, separate two strands from two strands in the yarn:


Using your hook tool, or your nimble fingers, poke two of the fuse strands through the yarn at the bottom of the rocket right next to the dowel:


Knot the fuse onto the bottom of the rocket and poke the ends through the inside of the red yarn so it doesn't show:


Cinch the top the the rocket yarn over the top of the container. Using your yarn needle, sew the rocket cone top to the top of the rocket:


And you're done!


If you choose to use your rockets as outside decorations, direct sunlight will REALLY make them blaze red! They will practically be glowing:


What a sizzling display you will have! And if you would like to mix it up with thin and large rockets, use the flower loom and the cardboard tube from a paper towel roll to make long, thin rockets! Get creative and add some white and blue stripes to the rockets if you wish!

Saturday, June 25, 2011

Baby Blankie 80 Percent done

Here she is, fresh from the loom!


This is before I block it and add the flannel backing to it, which I finally decided I would do. I went to a local big box store and bought the flannel and some pink thread so I can sew the flannel to the back of the blankie, and then it will be done!


As far as the process of knitting it is concerned, here's how I did it. Using the blue straight loom with one additional corner peg, I knit off 1 over 2 stockinette stitches using Baby Bernat Coordinates Baby Pink and White yarns. After casting on using baby pink, for the top edge of the blankie I wrapped the odd pegs with the baby pink yarn and the even pegs with the white yarn and knit off for 20 rows. Then I snipped a 5" tail from the white yarn and wrapped the loom with the baby pink and began knitting off the bobble pattern. Here is the pattern below:


I used graph paper that I taped together so I had 61 boxes, the same number of pegs that I had on the loom. I then created the pattern by putting an "x" in each box that I wanted to bobble, and put the number of the box above the x. Then, on the loom, I used a pencil and marked the top of each peg that corresponded to an the "x" on one row on the graph paper the same number above the "x" box on the graph paper is the number of the beg that I marked to bobble), as you can see highlighted below:


I knit off 1 over 2 on the loom until I got to the peg I marked to bobble, where I knit off the same peg for 5 times and then placed the bottom loop back onto the loom and knit off, then I continued to knit off around the loom until I reached a bobble peg and repeat the process. It took quite a while since I had a limited amount of time to work on it each day, but the results were worth it. The pattern took 13 rows to complete, and in between each complete 13-row pattern I knit 4 straight stockinette stitch rows, just to add length to the blankie. I repeated the pattern in this way for 5 repetitions, then knit off 11 straight stockinette rows, then knit off 5 more pattern repetitions. Next I added the white yarn back in again to create the bottom pink and white blankie border, which I knit off for 10 rows. Finally, using only baby pink, I knit off 4 rows and cast off the blankie from the loom.


The reason I chose this pattern to bobble is when I was young I had a blanket that had a bobble pattern like this.


The next picture I post will be the completed blankie with the flannel added on the back.

Thursday, June 16, 2011

Baby Blanket Progress!

So here's how the blankie looks now:

It measures 13" long. I am knitting the 6th repitition of the pattern; I plan on making 10 repetitions before finishing and blocking. Progress has been a lot slower than I anticipated, so I am making it my goal to complete 1 repitition per day. Until now I have been doing less than that with the amount of time I have to knit. Here is a better view of what the pattern looks like:


Simple bobble diamond shapes! When I was first knitting this, I wasn't sure if the pattern was going to look the way I wanted it to. The more I kept at it, the more I still was unsure. It wasn't until I took a photograph of it today that I can see that it worked out. Have you ever had that happen to you? You are working on a project for so long that you don't see how well it's coming out. That happens to me when I create artwork sometimes. Other times I know beyond the shdow of a doubt that it's coming out great (or horrible).


I'd like to complete this blanket before the end of next week, if possible. I still have matching booties to knit!


I also want to get started on another special summer project that won't take nearly as long, though I am creating the pattern from scratch. I've had the idea since last year but did not try it out because I couldn't create a good drawing for it, so I just moved on and worked on other things. Finally last week I was able to create a workable sketch to use as a guide for the pattern, and I'm pretty excited about making it! I think it's fun and different, hope you will too!

Wednesday, June 15, 2011

100 Followers! Yay!

Thanks everyone for your interest in my Loom Dude blog! I'm now at 100 followers, which is so awesome! It's a neat little milestone for me. Hope the blog is as interesting to you now as it was the day you first started following it!

Thursday, June 9, 2011

Father's Day Gift Idea!

Father's Day is next weekend, are you ready? If not, here's a 4-5 hour project you can make: a knitted steering wheel cover for Dad's car:


Easy to make, unique, and will keep dear ol' Dad's fingers warm in winter and comfy in summer (you know how hot those steering wheels can get!)


You will need: Knifty Knitter flower loom, yarn needle, loom hook, scissors, Lion Brand Hometown USA yarn (I used San Diego Navy and Oakland Black. You can use whatever colors you want, maybe even the colors of Dad's favorite sports team) or any super bulky yarn.

First, using an antibacterial wipe or cloth, clean off the entire steering wheel and dry it with a paper towel. (If you get in the mood, why not shock the pants off Dad and vacuum the whole car?) Then, using a measuring tape, measure the circumference and width of the steering wheel (SW). The SW that I based my pattern on measures 4" wide x 47 3/4" around.


Next, cast on pegs 2-11 of the flower loom, using the e-wrap (stockinette) method. You will be knitting 1 over 2, so loosely wrap pegs 2-11 with yarn 3 times and knit off. The key word is wrap loosely, otherwise you will struggle with knitting off. Keep the yarn loose, and you can work faster. You will knit off for 190 rows, or 38", unless you are adding different colors, which may take you up to 3 hours, depending on how fast you knit and whether or not you added different colors. The cover will probably curl naturally, like mine did as I knit it:


Next, leaving about a 5" tail, snip the working yarn and bind off the loom using your threaded yarn needle. Using one hand to position the cover at the top of the SW, stretch the cover around the circumference of the SW until the ends meet. You want the cover to be snug to the SW, that's why you knit it shorter than the actual circumference of the SW. If it is still a bit loose, frog stitches from the bind off end. Once you reach the desired fit, sew the ends of the cover together and knot the two tails together (the tail from the working yarn and the tail from when you cast on). Stretch the cover over the SW and position so that colors are to your liking (if you knit with more than one color).


Next, cut an 18" piece of yarn, thread your yarn needle, and (starting at the bottom of the SW) sew the ends of the cover together, pulling the yarn tight as you work, so that the cover stretches tightly around the SW as it is sewn shut.


In areas where you cannot sew the covers together, thread the needle through the outer loops of the cover


until you can sew the two sides of the cover together again.


Depending on how fast you work, sewing the cover onto the SW will take 20-30 minutes. When you reach the bottom of the cover where you first started, knot the two yarn tails together and pull the tails through the inside of the cover, snipping off excess tails as needed. And you're done!


Dad will certainly be surprised, and it will make his car just that much easier to find when he parks in a crowded parking lot; probably no one else will have a knitted SW cover!


If you make it, I'd love to see how yours turned out!

Thursday, June 2, 2011

Baby Blanket Briefing and Book Blurb

Here's how the baby blanket is coming along so far:


At first I was going to stop at 5 repititions of the bobble pattern, but now I see that that is not enough. I am on the 4th repitition, and the blankt is only 8" long. I want it to be 18-20" long, so I will probably repeat the bobble pattern another 10 times before I finish it. I will also need another skein of yarn, since this one is running out faster with all the extra yarn used for bobbling. I lost some time working on it this week due to taking a break on Memorial Day, so I hope I can catch up soon.

I haven't decided if I want to sew a thin piece of pink or white flannel to the back of the blanket to give it a little more weight. Right now it is ideal for a light spring/summer/early fall wrap, but in winter it probably wouldn't be very warm. We'll see how I feel about it when I'm finished knitting it.

Over the past month I have been listening to Debbie Macomber's Blossom Street series on cd. I started with Summer on Blossom Street, thinking it came before Back on Blossom Street, since I didn't know the order she had written the books in. After a click on Wikipedia I found a list of the order the books were published in. Right now I am in the middle of Susannah's Garden. What I like about these books is that each novel can stand alone, even if you never read any of the others in the series. I'm reading them out of order since my library didn't have all of them as audio books, and I started with the one I could get first. So far it hasn't been too confusing reading them out of order. I also like Debbie's style of writing and the situations that the characters get into, though I must say that owning a yarn shop seems to be a favorite topic in these fiber-focused novels. I find myself getting engrossed in the storyline, eager to hear what happens next. So far I am about midway through Susannah's Garden; I'm going to see if the library has A Turn in the Road yet.

Have you read any of these in the series? What do you think of them?