


My final Christmas project for this year was a Christmas tree I designed myself! This adorable tree decorated with poinsettias and lights stands 27.5 inches tall and was a delight to make!

First I started by deciding on how I wanted the poinsettias to look. I created them all in one piece, using the flower loom and Homespun candy apple red yarn. But they came out looking more like a star (the one on the left), and they weren't the right color. I tried again, increasing the number of leaves and using red heart red yarn. Now it looked more like a poinsettia to me (the one on the right):

I knit 20 poinsettias and set them aside.
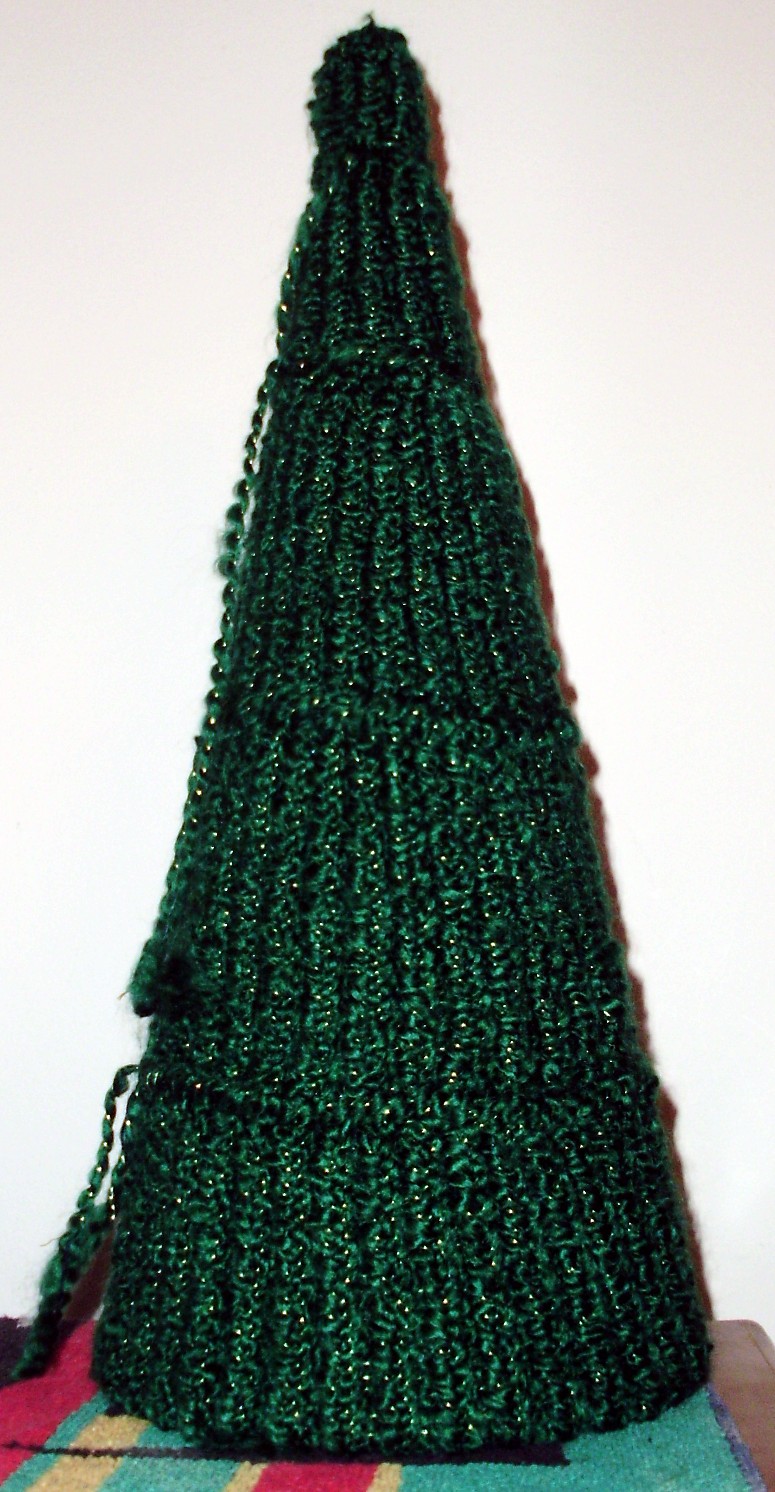
To knit the tree, I used Homespun Evergreen Christmas yarn and every round loom I had. I knit each section of the tree from small to large, and then sewed them together with yarn. I knit the bottom section of the tree a little longer than the cone so I could pull the tree taut against the cone and cinch it underneath.
After I completed it I thought of a different way of creating the tree in one piece; maybe next year I'll try it out and see if it works.
To assemble the tree, I purchased a clear plastic cone from an online craft store to use as the inside of the tree, because I knew styrofoam wouldn't work well with the lights. Plus I didn't want the color of the styrofoam to show through the knitting. I bought a wood dowel and painted the bottom part of it brown, to use as the tree trunk. I bought a strand of 20 red Christmas lights. Then I bought some styrofoam discs that I would cut to insert and glue inside the bottom of the tree and into the base of the pot, to hold the tree steady and upright.


Before I put the lights in, I sewed the poinsettias onto the tree. This could have been a big mistake, since I didn't take into account the distance between each light bulb -vs- the distance I had sewn on each poinsettia. But fortunately all of the lights were able to reach the centers of eack poinsettia as I had planned.
Another problem with sewing the poinsettias on the tree first happened when I had to space and match each light with the center of each poinsettia I had sewn on. I had to use an exacto knife to mark the center of each poinsettia on the plastic cone. Then I enlarged the hole in the plastic cone and pushed each light through. Then I secured the lights using black electrical tape, which I knew would be covered up by the poinsettia.

Next I carefully turned the tree inside out, and pushed the lights through the center of each poinsettia, starting at the top. This was difficult, but not impossible. I poked a pencil through the center of each poinsettia to guide my finger and to make the hole big enough for the light to push through. The ones at the top were the hardest, but after the first few I was able to position the lights both inside and outside the cone through the yarn.
At first I had planned to knit the star on top of the tree. I was going to make a large poinsettia for the top, but I just wasn't getting a good design together for how I wanted it to look. So I found a star at the craft store to use instead.
The last part I bought was the pot itself: a cute wicker basket that I found at the craft store, in the shape of a snowman's hat. It was just the right finishing touch!
Here is what the tree looks like with the lights on,


and an artistic rendering of it:

Hope you and your family had a wonderful Christmas!

